
Are you a DIY painter who is wondering how to clean your Graco paint sprayer with dried paint? If so, this guide is for you! In this article, we’ll discuss the steps to take to successfully clean a Graco paint sprayer with dried paint. We’ll cover the tools you need, the cleaning process, and tips for prevention. We’ll also discuss the potential hazards of cleaning a paint sprayer with dried paint and how to avoid them. By the end of this guide, you’ll know exactly how to clean a Graco paint sprayer with dried paint and be able to get back to painting quickly and safely. So let’s get started!
How to Clean a Graco Paint Sprayer With Dried Paint:
- Disconnect the paint sprayer from the power source.
- Mix a cleaning solution of 1/3 cup of bleach and 1 gallon of warm water.
- Fill the paint sprayer’s cup with the cleaning solution.
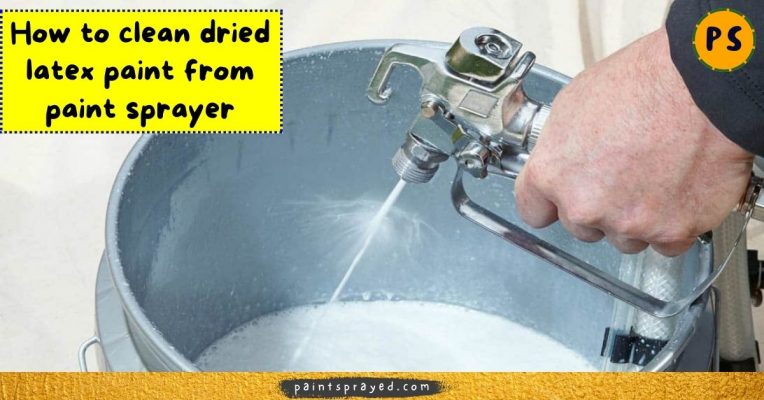
- Turn on the power and pull the trigger for a few seconds to run the cleaning solution through the nozzle.
- Turn the power back off and empty the cup.
- Fill the cup with warm water and repeat Steps 4 and 5 to rinse the paint sprayer.
- Allow the paint sprayer to dry before reassembling.
language only.
How to Clean a Graco Paint Sprayer with Dried Paint
Cleaning a Graco paint sprayer with dried paint can be a challenging process. It requires some patience and some special techniques to get the job done correctly. With the right tools and some perseverance, you can easily clean your Graco paint sprayer and get back to painting in no time.
Step 1: Disassemble the Paint Sprayer
The first step in cleaning your Graco paint sprayer is to disassemble it. This can be done by removing all of the components, including the hose, paint cup, and nozzle. Once you’ve done this, you’ll be able to access the internal parts of the sprayer, where the dried paint will be located.
Step 2: Clean Out the Paint Cup and Nozzle
Next, you’ll need to clean out the paint cup and nozzle. This can be done by using a soft cloth and isopropyl alcohol. Start by wiping away the dried paint from the cup and nozzle. Once you’ve done this, use a small brush to scrub away any remaining paint. Be sure not to use any harsh chemicals or scrubbing materials, as these can damage the cup and nozzle.
Step 3: Clean the Hose
The next step is to clean the hose. This can be done by first removing the hose from the sprayer. Then, use a damp cloth and some isopropyl alcohol to wipe away any dried paint from the inside of the hose. Once you’ve done this, use a small brush to scrub away any remaining paint. Be sure to rinse the hose thoroughly with water once you’ve finished scrubbing.
Step 4: Clean the Paint Sprayer Body
The next step is to clean the paint sprayer body. This can be done by using a damp cloth and isopropyl alcohol. Start by wiping away any dried paint from the body of the sprayer. Once you’ve done this, use a small brush to scrub away any remaining paint. Be sure not to use any harsh chemicals or scrubbing materials, as these can damage the paint sprayer body.
Step 5: Reassemble the Paint Sprayer
Once you’ve finished cleaning the paint sprayer, you’ll need to reassemble it. Start by reattaching the hose and then the nozzle. Next, reattach the paint cup and then the body of the sprayer. Finally, replace the air filter and you’re ready to start painting again.
Step 6: Test the Paint Sprayer
The final step is to test the paint sprayer to make sure it is working properly. This can be done by filling the paint cup with some paint and then spraying it onto a piece of cardboard or paper. If the paint is spraying evenly, then the paint sprayer is working properly.
Step 7: Troubleshooting
If you find that the paint sprayer is not working properly, then you may need to troubleshoot the problem. Start by checking the nozzle for any clogs or blockages. Then, check the hose for any kinks or bends. If these don’t seem to be the problem, then you may need to replace the air filter.
Step 8: Maintain the Paint Sprayer
Once the paint sprayer is working properly, it is important to maintain it. This can be done by regularly cleaning the paint cup and nozzle, as well as the hose and body of the sprayer. Additionally, check the air filter periodically to make sure it is not clogged. This will help ensure that the paint sprayer is working at its optimal performance.
Step 9: Store the Paint Sprayer Properly
When you’re done using the paint sprayer, it is important to store it properly. This can be done by removing any excess paint from the paint cup and nozzle, and then storing the sprayer in a cool, dry place. This will help ensure that the paint sprayer is in good condition and ready to use the next time you need it.
Step 10: Safety Precautions
Finally, it is important to take safety precautions when using the paint sprayer. Be sure to wear protective clothing and a face mask when spraying. Additionally, make sure to keep the paint sprayer away from any open flames, as the fumes from the paint can be hazardous.
Related Faq
What is a Graco Paint Sprayer?
A Graco paint sprayer is a type of spray gun that is used to apply paints, stains, and other finishes to a wide range of surfaces. It is a professional-grade tool that is designed for speed and accuracy, making it ideal for larger projects. The Graco paint sprayer is easy to use and can be used to apply a variety of finishes quickly and evenly.
Graco paint sprayers use high-pressure air to atomize the paint, allowing it to be sprayed onto surfaces with a fine, even finish. The sprayer also has a built-in filter that helps to remove any dirt or debris before it is applied to the surface.
How to Clean a Graco Paint Sprayer With Dried Paint?
Cleaning a Graco paint sprayer with dried paint can be a challenge, but it is possible with the right tools and techniques. The first step is to remove any loose paint. This can be done with a stiff brush or a vacuum cleaner. Make sure to use a vacuum with a HEPA filter to ensure that any paint particles are properly contained.
Once the loose paint has been removed, it is time to start cleaning the sprayer. Use a paint thinner or mineral spirits to dissolve the dried paint, and then use a soft cloth to scrub away the residue. Be sure to wear protective gloves and eye protection to prevent any skin or eye irritation from the solvents. After the sprayer has been thoroughly cleaned, rinse it with warm water and dry it off with a soft cloth before storage.
How to Remove Stubborn Dry Paint Easily
To conclude, cleaning a Graco paint sprayer with dried paint is not an impossible task. With the right tools, a little bit of elbow grease, and some patience, you can easily restore your sprayer to a like-new condition. With a few simple steps, you can make sure your paint sprayer runs smoothly and efficiently for years to come.