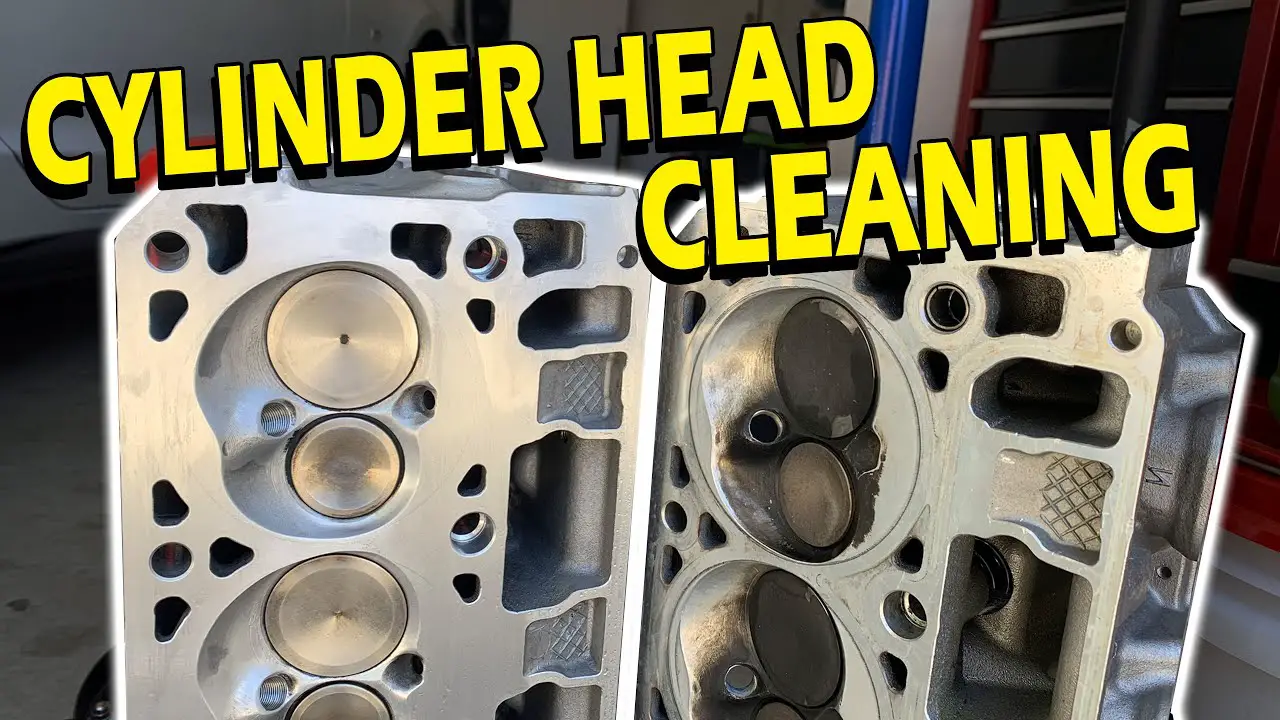
Are you tired of seeing your aluminum head engine covered in grime and grease? Keeping your engine clean not only improves its appearance, but it also helps extend its lifespan. In this article, we will provide you with step-by-step instructions on how to clean your aluminum head engine properly. So, let’s get started and give your engine the TLC it deserves!
- Remove any loose debris or dirt with a soft-bristled brush.
- Apply an aluminum cleaner or a mixture of water and vinegar to the head.
- Scrub the surface with a non-abrasive brush or sponge.
- Rinse off the cleaner with water and dry with a clean towel.

How to Clean Aluminum Head?
Aluminum heads are commonly used in engines due to their lightweight, durability, and excellent heat dissipation properties. However, they require proper cleaning and maintenance to ensure optimal performance and longevity. In this article, we will discuss how to clean aluminum head effectively.
1. Preparing the Area
Before cleaning your aluminum head, you need to prepare the area properly. First, remove any loose debris or dirt using a soft-bristled brush. Cover the surrounding area with plastic or newspapers to protect it from any spills or splatters. It is also recommended to wear gloves and eye protection to avoid any contact with cleaning solutions.
Next, remove the aluminum head from the engine block or cylinder head. This will allow you to clean it thoroughly without damaging any other engine components. Place the head on a clean, flat surface, and remove any gasket or sealant residue using a scraper or razor blade.
2. Cleaning the Aluminum Head
Once you have prepared the area and removed the head, it’s time to clean it. There are various methods to clean an aluminum head, including chemical cleaning, pressure washing, and abrasive blasting. However, chemical cleaning is the most effective and safest method.
To clean the aluminum head, you need a specialized aluminum cleaner that is designed to remove dirt, grime, and corrosion without damaging the surface. Apply the cleaner to the head using a spray bottle or brush, and let it sit for a few minutes to dissolve any buildup.
After the cleaner has had time to work, use a soft-bristled brush or sponge to scrub the surface gently. Avoid using abrasive materials like steel wool or sandpaper, as they can scratch or damage the aluminum surface. Rinse the head thoroughly with water to remove any remaining cleaner and debris.
3. Drying and Reinstallation
After cleaning the aluminum head, it’s essential to dry it thoroughly to prevent any moisture or rust buildup. Use a clean, dry cloth or air compressor to remove any excess water from the surface. If you are using an air compressor, make sure to use low pressure to avoid damaging the surface.
Once the head is dry, you can re-install it back into the engine block or cylinder head. Make sure to use a new gasket or sealant to ensure a proper seal. Torque the bolts to the manufacturer’s specifications, and check for any leaks or issues before starting the engine.
4. Benefits of Cleaning Aluminum Head
Cleaning your aluminum head regularly offers several benefits, including:
– Improved engine performance: A clean aluminum head allows the engine to run cooler and more efficiently, resulting in better performance and fuel efficiency.
– Increased longevity: Regular cleaning and maintenance can prevent corrosion and other issues that can reduce the lifespan of your engine.
– Cost-effective: By cleaning your aluminum head regularly, you can avoid costly repairs and replacements down the road.
5. Cleaning vs. Replacing Aluminum Head
While cleaning your aluminum head is essential, there may come a time when replacement is necessary. Here are some factors to consider when deciding whether to clean or replace your aluminum head:
– Severity of damage: If the aluminum head is severely damaged, corroded, or cracked, replacement may be the only option.
– Cost: Cleaning is typically less expensive than replacement, but this may vary depending on the extent of the damage and the cost of labor.
– Time: Cleaning is a relatively quick process, while replacement may take longer and require more downtime for your vehicle.
In conclusion, cleaning your aluminum head is crucial for maintaining optimal engine performance and longevity. By following the proper cleaning method and taking the necessary precautions, you can ensure that your aluminum head remains in top condition for years to come.
Frequently Asked Questions
Aluminum heads are a popular choice for engines due to their lightweight and durability. However, cleaning them can be a daunting task. Here are some commonly asked questions and answers about how to clean aluminum heads.
What is the best way to clean aluminum heads?
The best way to clean aluminum heads is to use a mild degreaser and a soft-bristled brush. Start by spraying the heads with the degreaser and allowing it to sit for a few minutes. Then, use the brush to scrub away any dirt, grime, or oil. Rinse the heads thoroughly with water and dry them with a clean cloth. Be sure to avoid using harsh chemicals or abrasive materials, as these can damage the aluminum.
If the heads are heavily soiled or have significant corrosion, it may be necessary to use more aggressive cleaning methods, such as sandblasting or acid etching. However, these methods should only be attempted by experienced professionals, as they can be dangerous and cause permanent damage if not done properly.
Can I use a pressure washer to clean aluminum heads?
While a pressure washer can be effective at removing dirt and grime from aluminum heads, it is not recommended. The high-pressure water can damage the delicate fins and other components of the heads, leading to leaks and other issues. Additionally, the water can get into the spark plug holes and other areas, causing problems with the engine. It is best to stick with a mild degreaser and a soft brush for cleaning aluminum heads.
If you do choose to use a pressure washer, be sure to use the lowest possible pressure setting and keep the nozzle at least 12 inches away from the heads. Also, be sure to cover any sensitive areas with plastic bags or other protective materials.
How often should I clean my aluminum heads?
The frequency of cleaning aluminum heads depends on a variety of factors, including the type of engine, the environment in which it operates, and the level of use. As a general rule, it is a good idea to inspect the heads for signs of dirt, grime, or corrosion after every use. If you notice any buildup, it is best to clean the heads as soon as possible to prevent further damage.
In addition, it is a good idea to perform a thorough cleaning of the heads at least once a year, or more frequently if the engine is used heavily or operates in a harsh environment.
Can I use a wire brush to clean aluminum heads?
No, you should never use a wire brush to clean aluminum heads. Wire brushes can scratch and damage the surface of the heads, leading to corrosion and other problems. Instead, use a soft-bristled brush made from nylon or other non-abrasive materials.
If you do accidentally scratch the surface of the heads, it is important to address the issue as soon as possible. Scratches and other damage can lead to corrosion and other problems, which can ultimately shorten the lifespan of the engine.
What should I do if my aluminum heads are corroded?
If your aluminum heads are corroded, it is important to address the issue as soon as possible. Corrosion can weaken the heads and cause leaks, leading to more serious problems down the road. Depending on the severity of the corrosion, it may be possible to remove it using a mild acid solution or sandblasting.
However, if the corrosion is too severe, it may be necessary to replace the heads altogether. If you are unsure about the state of your aluminum heads, it is always best to consult with a professional mechanic or engine builder for advice.
How to SAFELY clean aluminum cylinder heads!!!
In conclusion, cleaning an aluminum head is an essential part of maintaining your engine’s performance. It helps to prevent corrosion, overheating, and damage to your vehicle. With the right tools and techniques, you can easily clean your aluminum head and keep it running smoothly for years to come.
Firstly, make sure to use a high-quality aluminum cleaner that is specifically designed for engine components. Apply the cleaner to the surface of the head and let it sit for a few minutes before wiping it off with a clean cloth or brush. Be sure to avoid using any abrasive materials that can scratch or damage the surface of the aluminum head.
Secondly, it’s important to inspect the head for any signs of damage, such as cracks or leaks. If you notice any issues, it may be necessary to replace the head or seek professional repairs. Regular maintenance and inspections can help to prevent these problems and ensure that your engine continues to perform at its best.
In summary, cleaning your aluminum head is an important part of maintaining your engine’s performance and preventing damage. By using the right tools and techniques, you can easily clean your head and keep your vehicle running smoothly for years to come. Don’t forget to inspect your head regularly for any signs of damage and seek professional help if necessary.