If you own a car or are a mechanic, you know that maintaining your vehicle’s engine is crucial for its longevity and performance. One of the most critical components of the engine is the coil pack. A dirty coil pack can lead to a range of problems, from misfires to reduced fuel efficiency. So, in this article, we will guide you on how to clean coil packs effectively to keep your car running smoothly.
Whether you’re a car enthusiast or a DIY mechanic, you don’t need to be an expert to clean your coil pack. Our step-by-step guide will take you through the process, from identifying the location of the coil pack to the tools you’ll need, and the best methods to clean it. So, let’s get started on this essential maintenance task to keep your car running at its best!
Cleaning your coil packs can improve your car’s performance and prevent misfires. Here’s how to do it:
- Disconnect the negative battery cable.
- Remove the coil packs from the spark plugs.
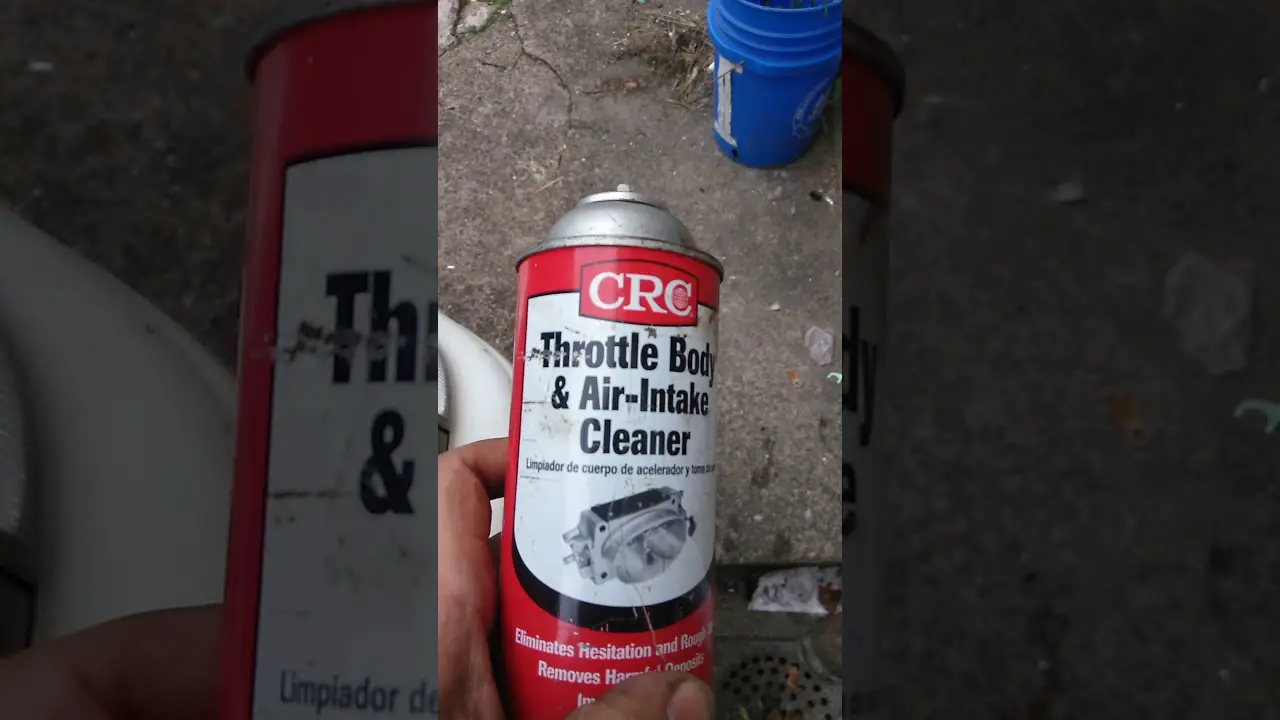
- Use a coil pack cleaner to remove any dirt or debris.
- Gently scrub the coil packs with a soft-bristled brush.
- Rinse the coil packs with water and let them dry completely.
- Reinstall the coil packs and reconnect the battery cable.

How to Clean Coil Packs: A Comprehensive Guide
Coil packs are an essential component of your vehicle’s ignition system. They play a crucial role in generating the necessary spark to ignite the fuel in your engine. Over time, these coil packs can become dirty, affecting their performance and causing rough idling, misfires, and a decrease in fuel efficiency. Fortunately, cleaning your coil packs is a simple process that can be done at home with the right tools and a bit of know-how. In this article, we’ll walk you through the steps of how to clean coil packs and keep your engine running smoothly.
1. Understand the Symptoms of Dirty Coil Packs (H3)
Before we dive into the cleaning process, it’s important to understand the signs of dirty coil packs. Some of the most common symptoms include rough idling, misfires, a decrease in power, and a decrease in fuel efficiency. If you notice any of these signs, it’s time to clean your coil packs.
Dirty coil packs are usually caused by a buildup of dirt, oil, and other debris. Over time, this buildup can cause the coil packs to become less effective at generating the necessary spark, leading to performance issues.
2. Gather Your Tools (H3)
Before you start cleaning your coil packs, you’ll need to gather some tools. You’ll need a socket set, a spark plug gap gauge, a wire brush, some electrical contact cleaner, and some dielectric grease.
3. Remove the Coil Packs (H3)
The first step in cleaning your coil packs is to remove them from your engine. Depending on your vehicle, this may involve removing some plastic covers or disconnecting some wiring. Consult your owner’s manual for specific instructions.
Once you’ve removed the coil packs, you’ll need to inspect them for any signs of damage or wear. If you notice any cracks or other damage, you’ll need to replace the coil packs.
4. Clean the Coil Packs (H3)
Now it’s time to clean the coil packs. Start by using a wire brush to remove any loose dirt or debris. Be careful not to damage the coils or any other components.
Next, use some electrical contact cleaner to clean the coils. Spray the cleaner onto the coils and use a clean cloth to wipe away any dirt or grime. Be sure to clean both the top and bottom of the coils.
5. Check the Spark Plug Gap (H3)
While you have the coil packs removed, it’s a good idea to check the spark plug gap. Use a spark plug gap gauge to measure the gap between the electrodes on the spark plug. If the gap is too large or too small, you’ll need to adjust it.
6. Apply Dielectric Grease (H3)
Once the coil packs are clean, it’s time to apply some dielectric grease. This grease helps to insulate the coil packs and prevent moisture from getting in. Apply a small amount of grease to the inside of the coil boots and to the top of the spark plugs.
7. Reinstall the Coil Packs (H3)
Now that the coil packs are clean and greased, it’s time to reinstall them. Make sure that each coil pack is properly seated and that any wiring is reconnected.
8. Test Your Engine (H3)
Before you start your engine, it’s a good idea to test your coil packs. Use a multimeter to check the resistance of each coil pack. If the resistance is outside of the manufacturer’s specifications, you may need to replace the coil packs.
9. Benefits of Cleaning Your Coil Packs (H3)
There are several benefits to cleaning your coil packs. First, it can help to improve the performance of your engine, leading to smoother idling, better acceleration, and increased fuel efficiency. Additionally, cleaning your coil packs can help to extend their lifespan, reducing the need for costly repairs or replacements down the line.
10. Cleaning Your Coil Packs vs. Replacing Them (H3)
In some cases, cleaning your coil packs may not be enough to fix the problem. If your coil packs are damaged or worn, you may need to replace them. However, cleaning your coil packs is a good first step and can help to diagnose any issues that may be affecting your engine’s performance.
In conclusion, cleaning your coil packs is a simple process that can help to improve the performance of your engine and extend the lifespan of your coil packs. By following the steps outlined in this article, you can keep your engine running smoothly and avoid costly repairs down the line.
Freequently Asked Questions
In this section, we will answer some frequently asked questions about how to clean coil packs. Read on to learn more.
What are coil packs, and why do they need cleaning?
Coil packs are responsible for creating the spark that ignites the fuel in your car’s engine. Over time, they can become dirty or corroded, which can cause misfires, rough idling, and decreased performance. Cleaning your coil packs can help improve your car’s performance and prevent these issues from occurring.
To clean your coil packs, you’ll need to remove them from your engine and use a wire brush or sandpaper to remove any corrosion or buildup. Be sure to clean both the coil pack and the spark plug connector, and replace any damaged parts as needed.
How often should I clean my coil packs?
The frequency with which you should clean your coil packs depends on several factors, including the age and mileage of your car, your driving habits, and the climate in which you typically drive. As a general rule, it’s a good idea to have your coil packs inspected and cleaned every 30,000 to 50,000 miles, or whenever you notice a decrease in performance or fuel efficiency.
If you live in an area with high humidity or salty air, you may need to clean your coil packs more frequently to prevent corrosion. Similarly, if you frequently drive in stop-and-go traffic or in dusty or dirty conditions, your coil packs may need more frequent cleaning.
Can I clean my coil packs myself, or should I take my car to a mechanic?
Cleaning your coil packs is a relatively simple process that you can do yourself with the right tools and a bit of know-how. However, if you’re not comfortable working on your car’s engine or if you’re not sure what you’re doing, it’s always a good idea to take your car to a mechanic.
A professional mechanic will have the expertise and specialized tools needed to clean your coil packs properly and safely, and can also identify and address any other issues that may be affecting your car’s performance.
Is it safe to drive with dirty or corroded coil packs?
While it’s technically possible to drive with dirty or corroded coil packs, doing so can cause a range of issues, including misfires, rough idling, decreased performance, and even engine damage in some cases. If you suspect that your coil packs may be dirty or corroded, it’s best to have them inspected and cleaned as soon as possible.
If you notice any warning signs of coil pack issues, such as a check engine light or a rough idle, it’s important to address the problem promptly to prevent further damage to your engine and ensure that your car is safe to drive.
How can I prevent my coil packs from getting dirty or corroded?
There are several steps you can take to prevent your coil packs from getting dirty or corroded in the first place. First and foremost, make sure to keep up with your car’s regular maintenance schedule, including oil changes, tune-ups, and inspections.
You can also help protect your coil packs by avoiding harsh driving conditions whenever possible, such as driving through deep water or on rough, unpaved roads. Additionally, be sure to keep your engine bay clean and free of debris, and consider applying a protective coating or sealant to your coil packs and other engine components.
How to clean ignition coil pack with simple things at home.
In conclusion, cleaning your car’s coil packs is a simple yet essential maintenance task that can save you from costly repairs down the line. By following the steps outlined in this guide, you can ensure that your engine runs smoothly and efficiently, providing you with a comfortable and safe driving experience.
Remember to always prioritize safety when working on your car’s engine. Wear protective gear and work in a well-ventilated area to avoid any potential hazards. Additionally, make sure to consult your vehicle’s manual for specific instructions and guidelines.
By taking the time to clean your coil packs, you can extend the lifespan of your vehicle, improve its performance, and save money on repairs. So why wait? Get started today and enjoy the benefits of a well-maintained car.