If you’re looking for a guide on how to clean your Delta kitchen faucet spray head, you’ve come to the right place. Cleaning your Delta kitchen faucet spray head is an important part of kitchen maintenance and can help to keep your faucet looking and performing its best. In this guide, we’ll walk you through the steps of how to effectively clean your Delta kitchen faucet spray head. We’ll cover what materials you’ll need, how to disassemble the spray head and how to ensure the job is done properly. So let’s get started and get that Delta kitchen faucet spray head sparkling clean!
To clean the Delta kitchen faucet spray head, follow these steps:
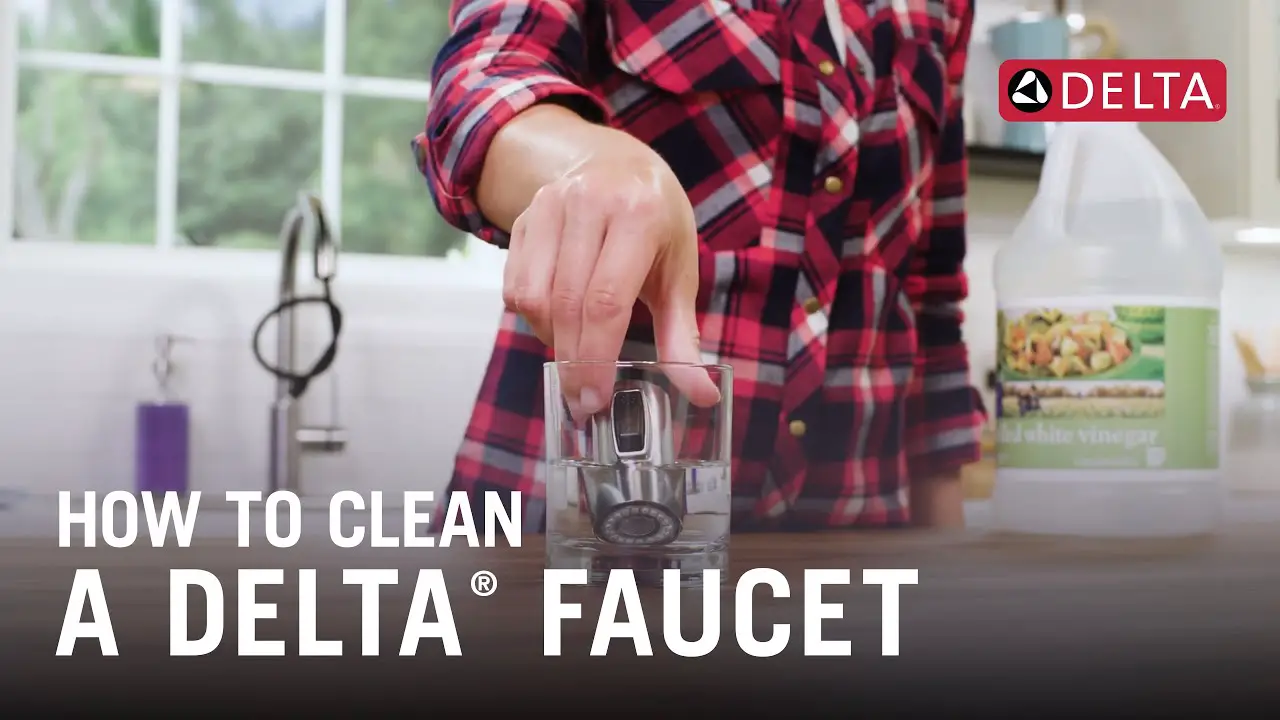
- Remove the spray head by twisting it counterclockwise.
- Soak the spray head in a solution of white vinegar and warm water for at least 30 minutes.
- Wipe away any debris or build-up from the spray head with a soft cloth.
- Rinse the spray head with warm water and re-attach it to the faucet.

language.
How to Clean a Delta Kitchen Faucet Spray Head
The Delta Kitchen Faucet spray head is a very useful and versatile addition to any kitchen. It can provide a powerful stream of water for washing, rinsing and cleaning dishes, pots and pans, and even for washing vegetables. However, over time, it can become clogged with buildup and can start to malfunction. Fortunately, cleaning the Delta Kitchen Faucet spray head is a fairly easy process that only requires a few household items.
Gathering Supplies
To properly clean the Delta Kitchen Faucet spray head, you will need the following items: a soft cloth, a toothbrush, a small screwdriver, a pair of pliers, white vinegar and a rubber band.
Step 1: Removing the Spray Head
The first step to cleaning the Delta Kitchen Faucet spray head is to remove it from the faucet. To do this, you will need to use the small screwdriver to loosen the screw that holds it in place. Once the screw is loose, you can use the pliers to gently pull the spray head out of the faucet.
Step 2: Cleaning the Spray Head
Once the spray head has been removed, use the soft cloth to wipe away any dirt or debris that may have built up on the outside. Then, use the toothbrush to gently scrub any buildup off the inside of the spray head. If there is any stubborn build up, you can use a small amount of white vinegar to help loosen it.
Step 3: Reattaching the Spray Head
Once the spray head has been thoroughly cleaned, it’s time to reattach it to the faucet. Begin by wrapping the rubber band around the spray head to ensure a tight seal. Then, use the small screwdriver to tighten the screw on the spray head. Finally, reattach the spray head to the faucet and turn on the water to test it.
Maintaining Your Faucet
It’s important to keep up with cleaning the Delta Kitchen Faucet spray head on a regular basis. Doing so will help keep it functioning properly and ensure that it lasts for many years to come. Additionally, it is also a good idea to use a faucet protector on the spray head to help protect it from dirt and debris.
Troubleshooting
If your Delta Kitchen Faucet spray head is still not working properly after being cleaned, there could be an issue with the valve itself. In this case, it is best to contact a professional plumber to come and inspect the faucet and make any necessary repairs.
Precautionary Measures
When cleaning the Delta Kitchen Faucet spray head, it is important to take safety precautions. Make sure you are wearing gloves and safety glasses to protect your hands and eyes from any splashes or debris. Additionally, always turn off the water supply before attempting to remove the spray head.
Tips for Cleaning
When cleaning the Delta Kitchen Faucet spray head, it is a good idea to use a mild detergent or a specialized cleaning solution. Avoid using harsh chemicals or abrasive scrubbers, as these can damage the spray head. Additionally, if there is any buildup inside the spray head, try soaking it in white vinegar for a few minutes before scrubbing to help loosen it.
Testing the Spray Head
Once you have finished cleaning the Delta Kitchen Faucet spray head, it is important to test it before using it. Turn on the water supply and check for any leaking or improper water flow. If everything looks good, you can then use the spray head as normal.
Cleaning Regularly
To keep the Delta Kitchen Faucet spray head in top condition, it is important to clean it regularly. Doing so will help to prevent any buildup and will ensure that it continues to function properly for many years to come.
Frequently Asked Questions
How to Clean Delta Kitchen Faucet Spray Head?
Answer 1:
The best way to clean a Delta kitchen faucet spray head is to use a combination of warm water and vinegar. To get started, fill a bowl with equal parts warm water and vinegar. Then, submerge the spray head in the mixture and allow it to soak for 10-15 minutes. After the spray head has soaked, take a soft brush and gently scrub the head to remove any dirt or grime. Once the head has been thoroughly cleaned, rinse it off with warm water and then dry it off with a clean cloth.
Answer 2:
If the spray head is heavily soiled or has calcium build-up, you may need to use a cleaner specifically designed for cleaning faucets. Before cleaning the spray head, make sure to check the manufacturer’s instructions for the model of faucet you have. This will ensure that you are using the correct cleaner for your specific faucet. After the cleaner has been applied, let it sit for 10-15 minutes, then scrub the spray head with a soft brush and rinse off with warm water. Finally, dry the head off with a clean cloth.
Delta kitchen faucet (Pull down sprayer type) teardown for cleaning and unclogging.
In conclusion, keeping your Delta Kitchen Faucet Spray Head clean is an important part of maintaining the functionality of your faucet. With the proper tools and supplies, you can easily clean your Delta Kitchen Faucet Spray Head quickly and effectively. For best results, be sure to follow the recommended instructions for the cleaning solution you choose. With a little bit of effort, you can ensure your Delta Kitchen Faucet Spray Head remains clean and fully operational.