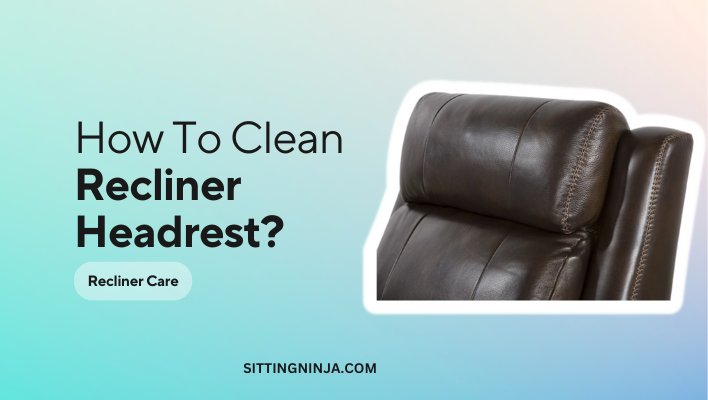
Are you tired of sitting on a recliner with a dirty headrest? A clean and hygienic recliner is essential for relaxation and comfort. However, cleaning the headrest of a recliner can be a daunting task, especially if you have no idea where to start.
In this article, we will guide you on how to clean the headrest on a recliner effectively. From everyday cleaning to tackling tough stains, we have got you covered. So, sit back, relax, and let us show you how to keep your recliner looking as good as new.
- Remove any debris or loose dirt from the headrest with a soft-bristled brush or vacuum cleaner.
- Mix a solution of mild soap and warm water in a bowl.
- Dampen a clean cloth in the solution and wring out the excess water.
- Gently wipe the headrest with the damp cloth, taking care not to saturate the material.
- Rinse the cloth with clean water and wipe the headrest again to remove any soap residue.
- Allow the headrest to air dry completely before using the recliner.

How to Clean Headrest on Recliner?
Keeping your recliner clean is important for both its longevity and your own personal health. Over time, the headrest on your recliner can accumulate dirt, oils, and sweat from your head and neck. This can lead to unpleasant odors and stains, as well as damage to the material. In this article, we’ll go over the steps to properly clean the headrest on your recliner.
Gather Supplies
Before you get started, you’ll need a few supplies. You’ll need a clean, dry cloth, a mild cleaning solution, and a soft-bristled brush. You may also want to have a vacuum cleaner with a brush attachment on hand to remove any loose debris.
When choosing a cleaning solution, be sure to select one that is appropriate for the material of your recliner. Leather and vinyl require different cleaners than fabric materials. Check with the manufacturer or a professional cleaner if you’re unsure of what to use.
Vacuum the Headrest
Start by using the vacuum cleaner with a brush attachment to remove any loose debris from the headrest. This will help prevent the dirt and debris from getting ground into the material during the cleaning process.
Apply Cleaning Solution
Next, apply the cleaning solution to the headrest, following the instructions on the bottle. Be sure to apply the solution evenly and avoid oversaturating the material. If you’re using a spray cleaner, spray it onto the cloth first and then apply it to the headrest.
Scrub Gently
Using a soft-bristled brush, gently scrub the headrest in a circular motion. Be sure to focus on any areas with stains or buildup. Avoid scrubbing too hard, as this can damage the material.
Wipe Clean
Once you’ve scrubbed the entire headrest, use a clean, dry cloth to wipe away any excess cleaning solution. You may need to use a few different cloths to ensure that all of the solution is removed.
Dry Thoroughly
Allow the headrest to air dry completely before using your recliner again. Avoid using a hair dryer or other heating device to speed up the drying process, as this can damage the material.
Protect the Headrest
To keep your headrest clean and protected, consider using a fabric or leather protector spray. These products can help repel dirt and stains, making it easier to keep your recliner looking its best.
Clean Regularly
To prevent the buildup of dirt and oils on your headrest, it’s important to clean it regularly. How often you need to clean it will depend on how often you use your recliner, but a good rule of thumb is to clean it at least once every six months.
The Benefits of a Clean Headrest
Keeping your headrest clean has several benefits. It helps prevent unpleasant odors and stains, and can extend the life of your recliner. It also creates a more hygienic environment, which is especially important for people with allergies or respiratory issues.
Leather vs. Fabric Headrests
When it comes to cleaning your headrest, the process will differ slightly depending on whether it’s made of leather or fabric. Leather requires a special cleaner and conditioner to keep it looking its best, while fabric can be cleaned with a mild detergent and water. Be sure to follow the manufacturer’s instructions for cleaning your specific material.
Conclusion
Cleaning the headrest on your recliner is an important task that should not be overlooked. By following the steps outlined in this article, you can keep your recliner looking and smelling fresh for years to come. Remember to clean it regularly and use a protector spray to help prevent future buildup.
Frequently Asked Questions
This section will answer some of the most common questions you may have about cleaning the headrest on a recliner. Read on to learn more!
How do I prepare the recliner before cleaning the headrest?
Before you start cleaning the headrest, make sure the recliner is in the fully upright position. This will allow you to access the headrest more easily and ensure that you don’t accidentally damage any other parts of the recliner while cleaning.
Additionally, you should remove any loose debris or dirt from the headrest using a soft-bristled brush or vacuum cleaner. This will make the cleaning process more effective and prevent any dirt or grime from getting ground into the fabric of the headrest.
What cleaning solutions are safe to use on a recliner headrest?
When it comes to cleaning the headrest on your recliner, it’s important to use a cleaning solution that is safe for the fabric or material of the headrest. For most recliners, a mild soap or detergent mixed with warm water should be sufficient for cleaning the headrest.
However, if you’re dealing with a particularly stubborn stain or mark, you may want to use a specialized upholstery cleaner or stain remover. Just make sure to test the cleaner on an inconspicuous area of the headrest first to ensure that it doesn’t damage or discolor the fabric.
How do I clean a leather headrest on a recliner?
If your recliner has a leather headrest, you’ll need to take special care when cleaning it to avoid damaging the leather. Start by wiping down the headrest with a soft, dry cloth to remove any dust or debris.
Next, mix a small amount of mild soap or leather cleaner with warm water and use a soft-bristled brush or cloth to gently scrub the leather. Be sure to avoid using too much water, as this can cause the leather to warp or discolor. Once you’re done cleaning, use a clean, dry cloth to wipe away any excess water or cleaner.
What should I do if the headrest on my recliner is stained or discolored?
If you notice stains or discoloration on your recliner’s headrest, don’t panic! There are a few things you can try to remove the stains and restore the headrest to its original color.
First, try using a mild soap or upholstery cleaner to blot the stain gently. If this doesn’t work, you can try using a specialized stain remover or taking the recliner to a professional cleaner. Additionally, if the headrest is made of fabric, you may be able to use a fabric dye to restore the color and hide any stains or discoloration.
How often should I clean the headrest on my recliner?
The frequency with which you need to clean the headrest on your recliner will depend on how often you use the recliner and how dirty the headrest gets. As a general rule, you should aim to clean the headrest at least once every six months.
However, if you have pets or small children who frequently use the recliner, you may need to clean the headrest more frequently to keep it looking and smelling fresh. Additionally, if you notice any stains or marks on the headrest, you should clean it as soon as possible to prevent the stains from setting in and becoming more difficult to remove.
Head Rest Cleaning Hack
In conclusion, cleaning the headrest on your recliner is an important task to maintain its overall appearance and hygiene. With these simple steps, you can easily remove dirt, stains, and odors from your recliner’s headrest without damaging the fabric or leather.
First, start by vacuuming the headrest to remove any loose dirt or debris. Then, use a gentle cleaning solution and a soft-bristled brush to scrub away any stubborn stains. Finally, allow the headrest to air dry completely before using your recliner again.
By following these easy steps, you can keep your recliner looking and feeling fresh for years to come. So, go ahead and give your recliner’s headrest the TLC it deserves!

