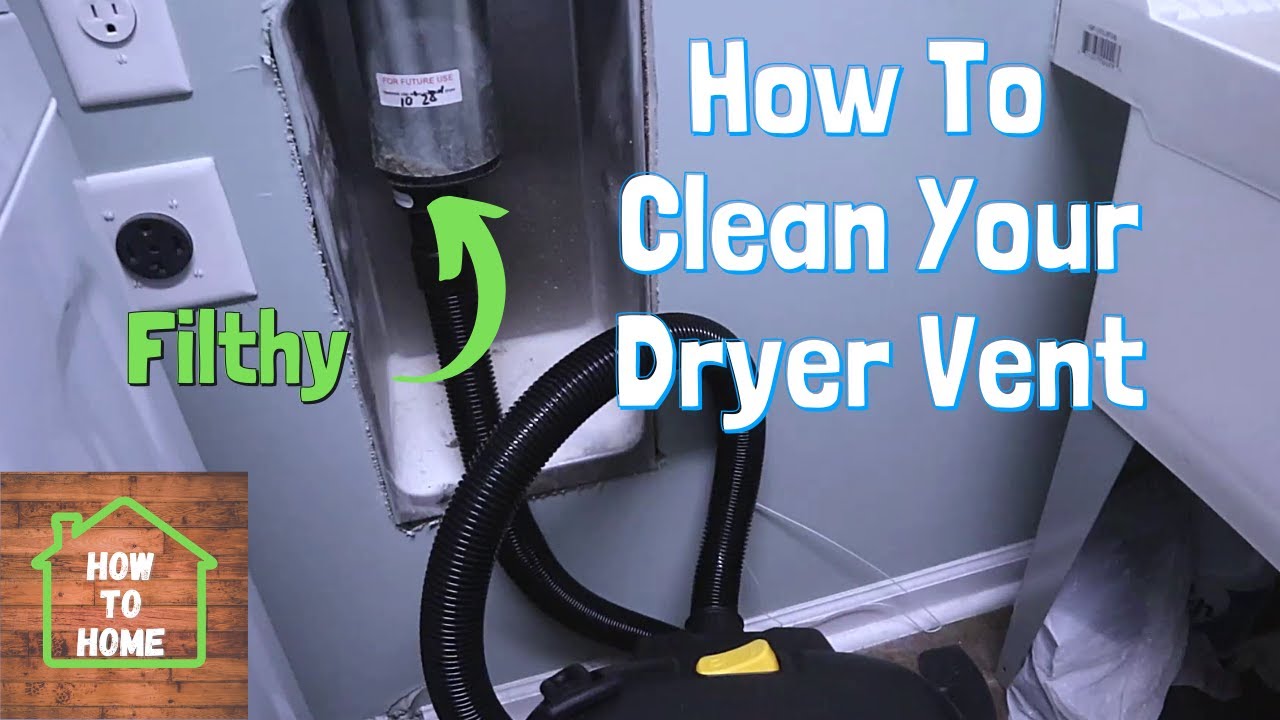
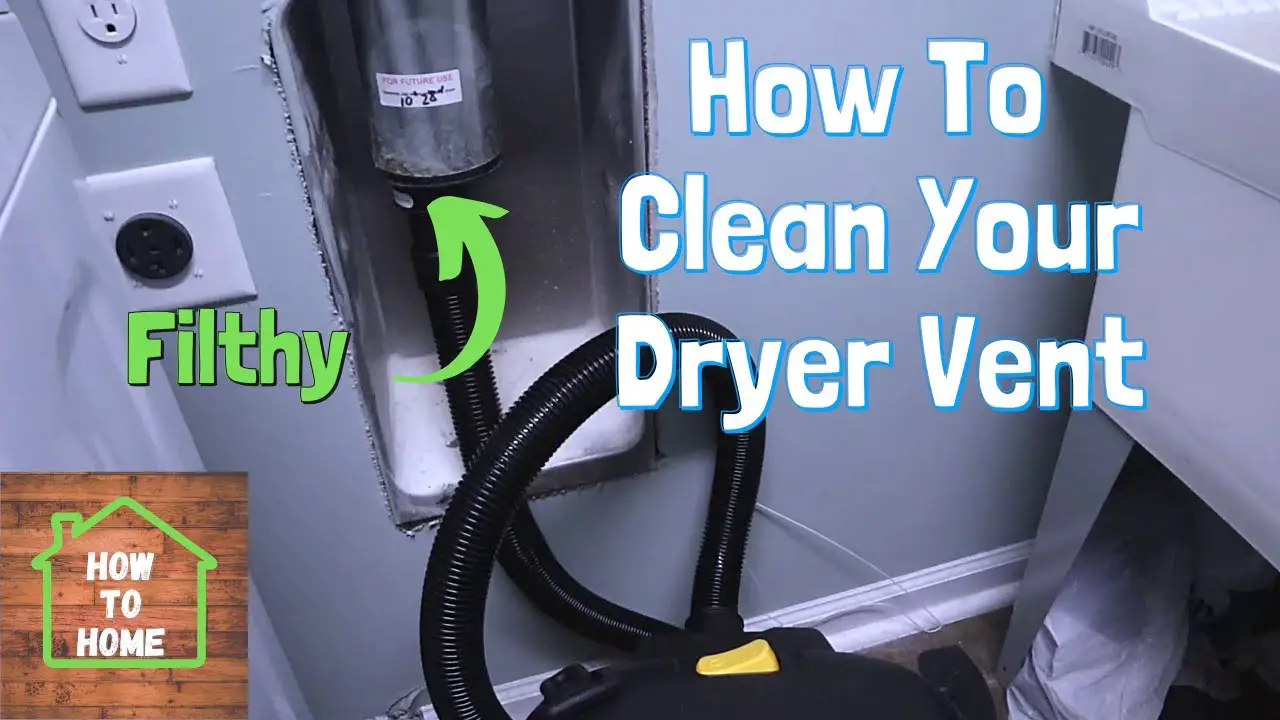
Keeping your home safe and sound is a top priority, and keeping your dryer vent clean is an essential part of that. Among the many vents that need to be cleaned regularly, the roof dryer vent is often overlooked. In this article, we’ll show you how to clean your roof dryer vent and why it’s important to do so.
Over time, lint and debris can accumulate in your roof dryer vent, causing it to become clogged and increasing the risk of a fire. Not only that, but a clogged dryer vent can also decrease the efficiency of your dryer, leading to longer drying times and higher energy bills. But don’t worry, with our step-by-step guide, you’ll be able to clean your roof dryer vent quickly and easily.
- Start by disconnecting the dryer from the power source and removing the vent cover on the roof.
- Use a brush or vacuum to remove any debris from the vent and the surrounding area.
- Inspect the vent for any damage and repair if necessary.
- Reattach the vent cover and reconnect the dryer.

How to Clean Roof Dryer Vent?
Cleaning your roof dryer vent is a crucial aspect of home maintenance, as it can help prevent fires and improve your dryer’s efficiency. Unfortunately, it’s often overlooked, leaving homeowners vulnerable to potential hazards. In this article, we’ll take a look at how to clean your roof dryer vent effectively and safely.
Why Clean Roof Dryer Vent?
Your dryer vent is responsible for expelling hot and moist air outside your home. Over time, lint and debris can accumulate in the vent, leading to blockages that restrict airflow. This can cause your dryer to work harder, increasing the risk of overheating and potential fires. A clean dryer vent also ensures that your dryer operates efficiently, reducing energy bills and extending its lifespan.
To clean your roof dryer vent, you’ll need a few tools, including a ladder, screwdriver, vacuum cleaner, and a dryer vent cleaning kit.
Step-by-Step Guide to Cleaning Roof Dryer Vent
Step 1: Safety First
Before you begin, ensure your dryer is turned off, and the power cord is unplugged. You should also wear gloves, eye protection, and a mask to protect yourself from dust and debris.
Step 2: Access the Roof Vent
Climb onto your roof using a ladder and locate the dryer vent. Remove the vent cover by unscrewing the screws that hold it in place.
Step 3: Clean the Vent Cover
Using a vacuum cleaner, remove any debris or lint from the vent cover. You can also wash it with soap and water to remove stubborn dirt.
Step 4: Clean the Vent Pipe
Using a vent cleaning kit, insert the brush into the vent pipe and rotate it to dislodge any lint or debris. Pull out the brush and vacuum up any loose debris. Repeat this process until the entire vent pipe is clean.
Step 5: Reassemble the Vent Cover
Replace the vent cover and secure it with screws. Ensure it’s tightly sealed to prevent any air leaks.
Step 6: Clean the Dryer Duct
Disconnect the dryer duct from the vent pipe and clean it thoroughly using the vent cleaning kit. Once clean, reconnect the duct to the vent pipe.
Step 7: Test the Dryer
Plug in your dryer and turn it on to ensure it’s working efficiently.
The Benefits of Cleaning Your Roof Dryer Vent
Cleaning your roof dryer vent has several benefits, including:
Improved Safety
A clean dryer vent reduces the risk of a fire caused by overheating.
Efficient Operation
A clean vent allows your dryer to operate efficiently, reducing energy bills and extending its lifespan.
Improved Air Quality
A clean vent ensures that moist air is expelled from your home, preventing mold growth and improving air quality.
Roof Dryer Vent Cleaning Vs. Professional Cleaning
While cleaning your roof dryer vent is relatively easy, you can also hire a professional to do the job for you. Professional cleaning services will use specialized equipment to clean your vent thoroughly, ensuring that it’s free from any blockages. However, professional cleaning can be expensive and is not necessary if you clean your vent regularly.
In conclusion, cleaning your roof dryer vent is a crucial aspect of home maintenance that should not be overlooked. It’s a simple process that can be done using basic tools, ensuring that your dryer operates efficiently, and reducing the risk of potential fires.
Frequently Asked Questions
In this section, you will find some commonly asked questions that will help you understand the process of cleaning your roof dryer vent.
What is a roof dryer vent?
A roof dryer vent is a duct that runs from the dryer to the roof. It is responsible for removing the hot air and moisture from the dryer and releasing it outside. Over time, the vent can become clogged with lint, debris, and other materials, which can cause the dryer to work less efficiently and increase the risk of a fire.
To clean your roof dryer vent, you will need to access it from the roof of your home. This can be done by climbing a ladder or hiring a professional to do the job for you.
How often should I clean my roof dryer vent?
You should clean your roof dryer vent at least once a year to prevent lint buildup and other debris from clogging the vent. If you have a large family or use your dryer frequently, you may need to clean it more often.
If you notice that your dryer is taking longer than usual to dry your clothes, it may be a sign that your roof dryer vent needs to be cleaned. You should also check the vent regularly for any signs of damage or wear and tear.
What tools do I need to clean my roof dryer vent?
To clean your roof dryer vent, you will need a few basic tools, including a ladder, a screwdriver, a brush, and a vacuum cleaner. You can also use a leaf blower to blow out any debris that may be stuck in the vent.
Before you begin cleaning your roof dryer vent, make sure that you have all of the necessary tools and equipment on hand. This will help to ensure that the process goes smoothly and that you are able to clean the vent effectively.
Can I clean my roof dryer vent myself?
Yes, you can clean your roof dryer vent yourself, but it is important to take the necessary safety precautions. Climbing a ladder and working on your roof can be dangerous, so make sure that you have someone to help you and that you are wearing the appropriate safety gear.
If you are not comfortable cleaning your roof dryer vent yourself, you can hire a professional to do the job for you. A professional will have the necessary tools and equipment to clean the vent safely and effectively.
What are the benefits of cleaning my roof dryer vent?
Cleaning your roof dryer vent can help to improve the efficiency of your dryer and reduce the risk of a fire. When the vent is clogged with lint and other debris, it can cause the dryer to work less efficiently, which can result in longer drying times and higher energy bills.
Cleaning your roof dryer vent can also help to prevent a fire. Lint is highly flammable, and if it accumulates in the vent, it can ignite and start a fire. By cleaning your roof dryer vent regularly, you can help to reduce the risk of a fire and keep your home safe.
Cleaning a dryer vent on the roof – Do not DIY!
In conclusion, cleaning your roof dryer vent is an essential part of home maintenance that should not be overlooked. It not only helps to prevent fires but also ensures that your dryer operates efficiently, saving you money on energy bills in the long run.
By following the steps outlined in this guide, you can easily clean your roof dryer vent without the need for professional help. Remember to wear protective gear and use the proper tools to ensure your safety.
Regularly cleaning your roof dryer vent is a small but important task that can make a big difference in the safety and efficiency of your home. Don’t wait until it’s too late, take action today and enjoy peace of mind knowing your dryer is working at its best.

