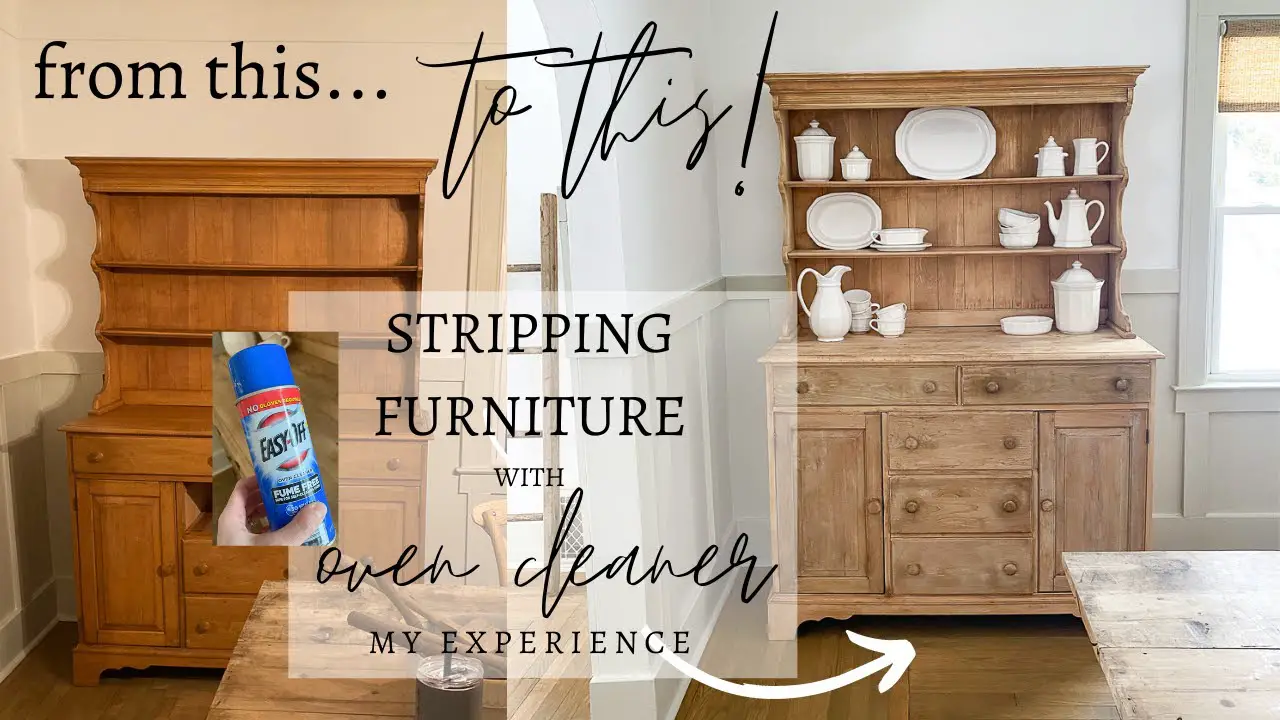
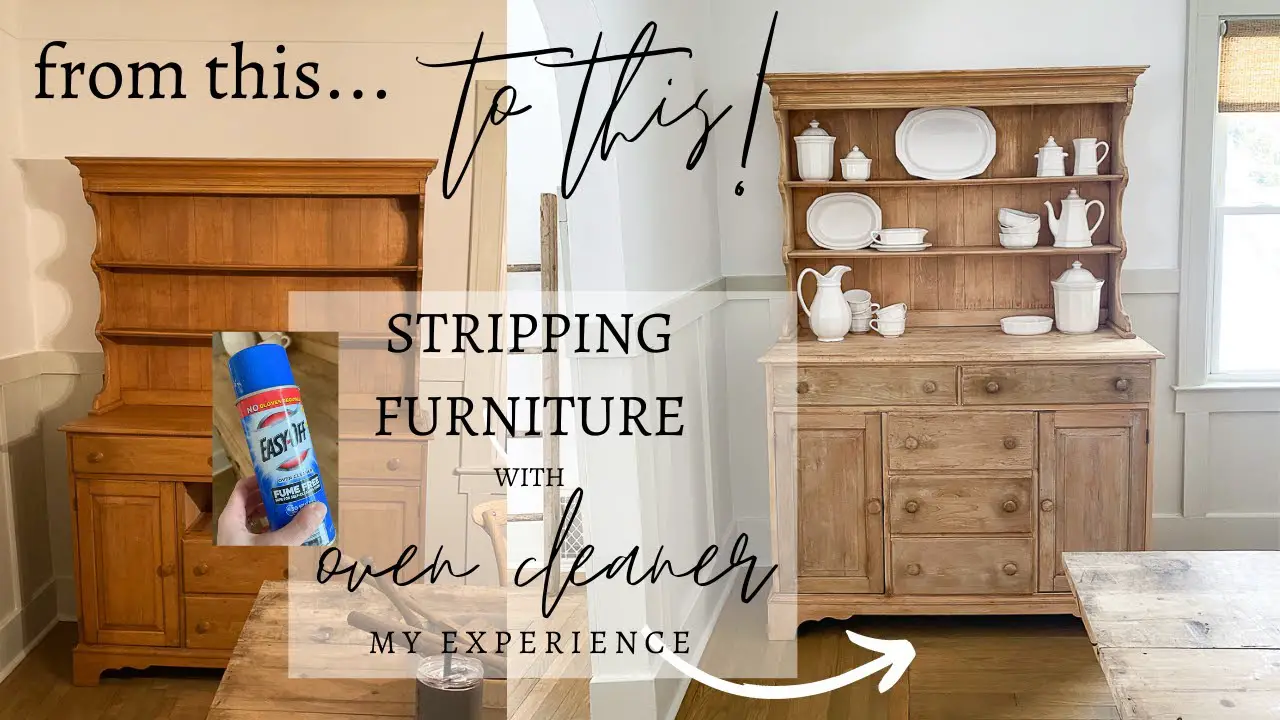
Wooden furniture is a timeless addition to any home, but over time, it can accumulate dirt and stains that can take away from its natural beauty. Stripping is a great way to remove old finishes and restore the wood’s original look. However, cleaning the wood after stripping is just as important as the stripping process itself. In this guide, we’ll explore the best practices and tips to help you clean your wood effectively, so it looks brand new again.
Whether you’re a DIY enthusiast or a professional woodworker, cleaning wood after stripping can be a daunting task. But don’t worry, with the right tools and techniques, you can achieve a flawless finish that will make your furniture look as good as new. So, let’s dive in and discover how to clean wood after stripping in the most effective way possible.

How to Clean Wood After Stripping?
Stripping wood is a great way to remove the old finish and revive the beauty of your wooden furniture or flooring. While the process may seem like a daunting task, it is essential to ensure that you clean the wood after stripping to prevent any damage to the surface. In this article, we will discuss the best ways to clean wood after stripping, so your furniture or flooring looks as good as new.
1. Vacuum the Surface
Before cleaning the surface, it’s essential to remove any debris, dirt, or dust that may have accumulated during the stripping process. Use a vacuum cleaner to clean the surface thoroughly. Start from the top and work your way down, ensuring that you clean around corners, crevices, and edges.
Once you have vacuumed the surface, use a soft-bristled brush to remove any remaining particles. A toothbrush or paintbrush works great for this purpose. Be gentle while brushing to avoid scratching the surface.
2. Use Mineral Spirits
Mineral spirits are an effective way to clean wood after stripping. They help remove any remaining residue or leftover finish, leaving behind a clean surface. Apply mineral spirits to a clean cloth and wipe the surface thoroughly. Repeat the process until the surface is clean.
3. Rinse the Surface
After using mineral spirits, it’s essential to rinse the surface with clean water. Use a sponge or cloth to apply clean water to the surface. Make sure to wring out excess water to avoid oversaturating the wood. Rinse the surface multiple times until all the mineral spirits have been removed.
4. Sand the Surface
Sanding the surface after stripping helps remove any remaining residue, rough spots, or scratches. Use sandpaper with a grit of around 120 to 150 to sand the surface. Be gentle while sanding to avoid damaging the wood. Once you have finished sanding, use a vacuum cleaner to remove any dust or debris.
5. Apply Wood Conditioner
After stripping and cleaning the wood, it’s essential to apply a wood conditioner. A wood conditioner helps prepare the surface for staining or varnishing, ensuring that the finish is even and smooth. Apply the conditioner to a clean cloth and rub it onto the surface. Let it sit for around 15 minutes before wiping off any excess.
6. Stain or Varnish the Surface
Once the wood conditioner has been applied and wiped off, it’s time to stain or varnish the surface. Apply the stain or varnish to a clean cloth and rub it onto the surface. Make sure to follow the manufacturer’s instructions regarding how many coats to apply and how long to wait between coats.
7. Let the Surface Dry
After staining or varnishing the surface, it’s essential to let it dry completely. The drying time depends on the type of stain or varnish used and the weather conditions. Make sure to follow the manufacturer’s instructions regarding drying time.
8. Buff the Surface
Once the surface has dried, it’s time to buff the surface. Buffing helps remove any excess stain or varnish, leaving behind a smooth and even finish. Use a soft cloth or buffing pad to buff the surface gently.
9. Apply Wax
After buffing, it’s essential to apply wax to the surface. Wax helps protect the surface from scratches, spills, and general wear and tear. Apply the wax to a clean cloth and rub it onto the surface. Let it sit for around 10 minutes before buffing the surface with a soft cloth.
10. Maintain the Surface
Once you have cleaned and restored your wooden furniture or flooring, it’s essential to maintain the surface regularly. Use a soft cloth or vacuum cleaner to remove any dirt or debris that may have accumulated. Avoid using harsh chemicals or abrasive materials that may damage the surface.
In conclusion, cleaning wood after stripping may seem like a daunting task, but it’s essential to ensure that the surface is clean and ready for staining or varnishing. By following the steps outlined above, you can clean and restore your wooden furniture or flooring, making it look as good as new.
Frequently Asked Questions
Wood stripping is a process that is necessary to remove old paint or stain from wooden surfaces. However, after stripping, it is important to clean the wood to prepare it for a new finish. Here are some common questions and answers about how to clean wood after stripping.
What should I use to clean the wood after stripping?
After stripping the wood, it is important to remove any remaining residue. You can use a variety of cleaning solutions such as mineral spirits, denatured alcohol, or a mixture of vinegar and water. These solutions will help to remove any remaining stripper and prepare the wood for a new finish.
It is important to follow the manufacturer’s instructions for the cleaning solution you choose. Some solutions may require diluting with water, while others may need to be applied directly to the wood. Make sure to wear protective gloves and work in a well-ventilated area.
Do I need to sand the wood after cleaning?
After cleaning the wood, it is a good idea to lightly sand the surface to smooth out any rough patches or raised grain. Sanding will also help to remove any remaining residue and prepare the wood for a new finish.
Use a fine-grit sandpaper and work in the direction of the wood grain. Be sure to remove any dust or debris with a clean, dry cloth before proceeding with a new finish.
How long should I wait before applying a new finish?
After cleaning and sanding the wood, it is important to allow it to fully dry before applying a new finish. This can take anywhere from a few hours to a full day, depending on the humidity and temperature of the room.
Check the manufacturer’s instructions for the new finish you plan to apply. Some finishes may require a specific amount of time to dry before applying a second coat, while others may require a certain amount of time to fully cure before use.
Can I use a pressure washer to clean the wood?
A pressure washer can be a quick and effective way to clean wood, but it is not recommended after stripping. The high pressure can damage the wood, and the force of the water can push stripper residue deeper into the wood grain.
Stick to using a cleaning solution and a soft-bristled brush or cloth to gently scrub the surface. This will ensure that you remove any remaining residue without damaging the wood.
What should I do if the wood is discolored after cleaning?
If the wood is discolored after cleaning, it may be due to water damage or a reaction to the cleaning solution. You can try sanding the surface again to see if the discoloration can be removed.
If the discoloration persists, you may need to use a wood bleach solution to lighten the color. Be sure to follow the manufacturer’s instructions, wear protective gloves, and work in a well-ventilated area.
How To Clean Off Stripper Residue
In conclusion, cleaning wood after stripping is an essential step to ensure you achieve the desired results from your project. With the right tools and techniques, you can restore your wood to its former glory and make it look brand new again.
Firstly, it’s important to remove all the debris and dust from the surface of the wood. This can be achieved by using a vacuum cleaner or a clean cloth. Secondly, you should clean the wood with a suitable wood cleaner to remove all traces of the stripping agent. Finally, you should sand the wood to smooth out any rough spots and prepare it for refinishing.
By following these simple steps, you can successfully clean your wood after stripping and prepare it for the next stage of your project. With a little patience, care, and attention to detail, you can achieve stunning results that will leave your wood looking beautiful and well-maintained for years to come.

