If you’re looking for an easy and effective way to keep your self-healing cutting mat clean and safe for use, you’ve come to the right place. Cleaning your mat regularly will extend its life and ensure it stays in good condition. In this article, we’ll be discussing the steps you need to take to properly clean a self-healing cutting mat. From the best cleaning materials to use, to how to properly dispose of the mat when it’s worn out – we’ll cover it all so that you can keep your mat in perfect condition for years to come. So, if you’re ready to learn how to clean a self-healing cutting mat, let’s get started!
language.
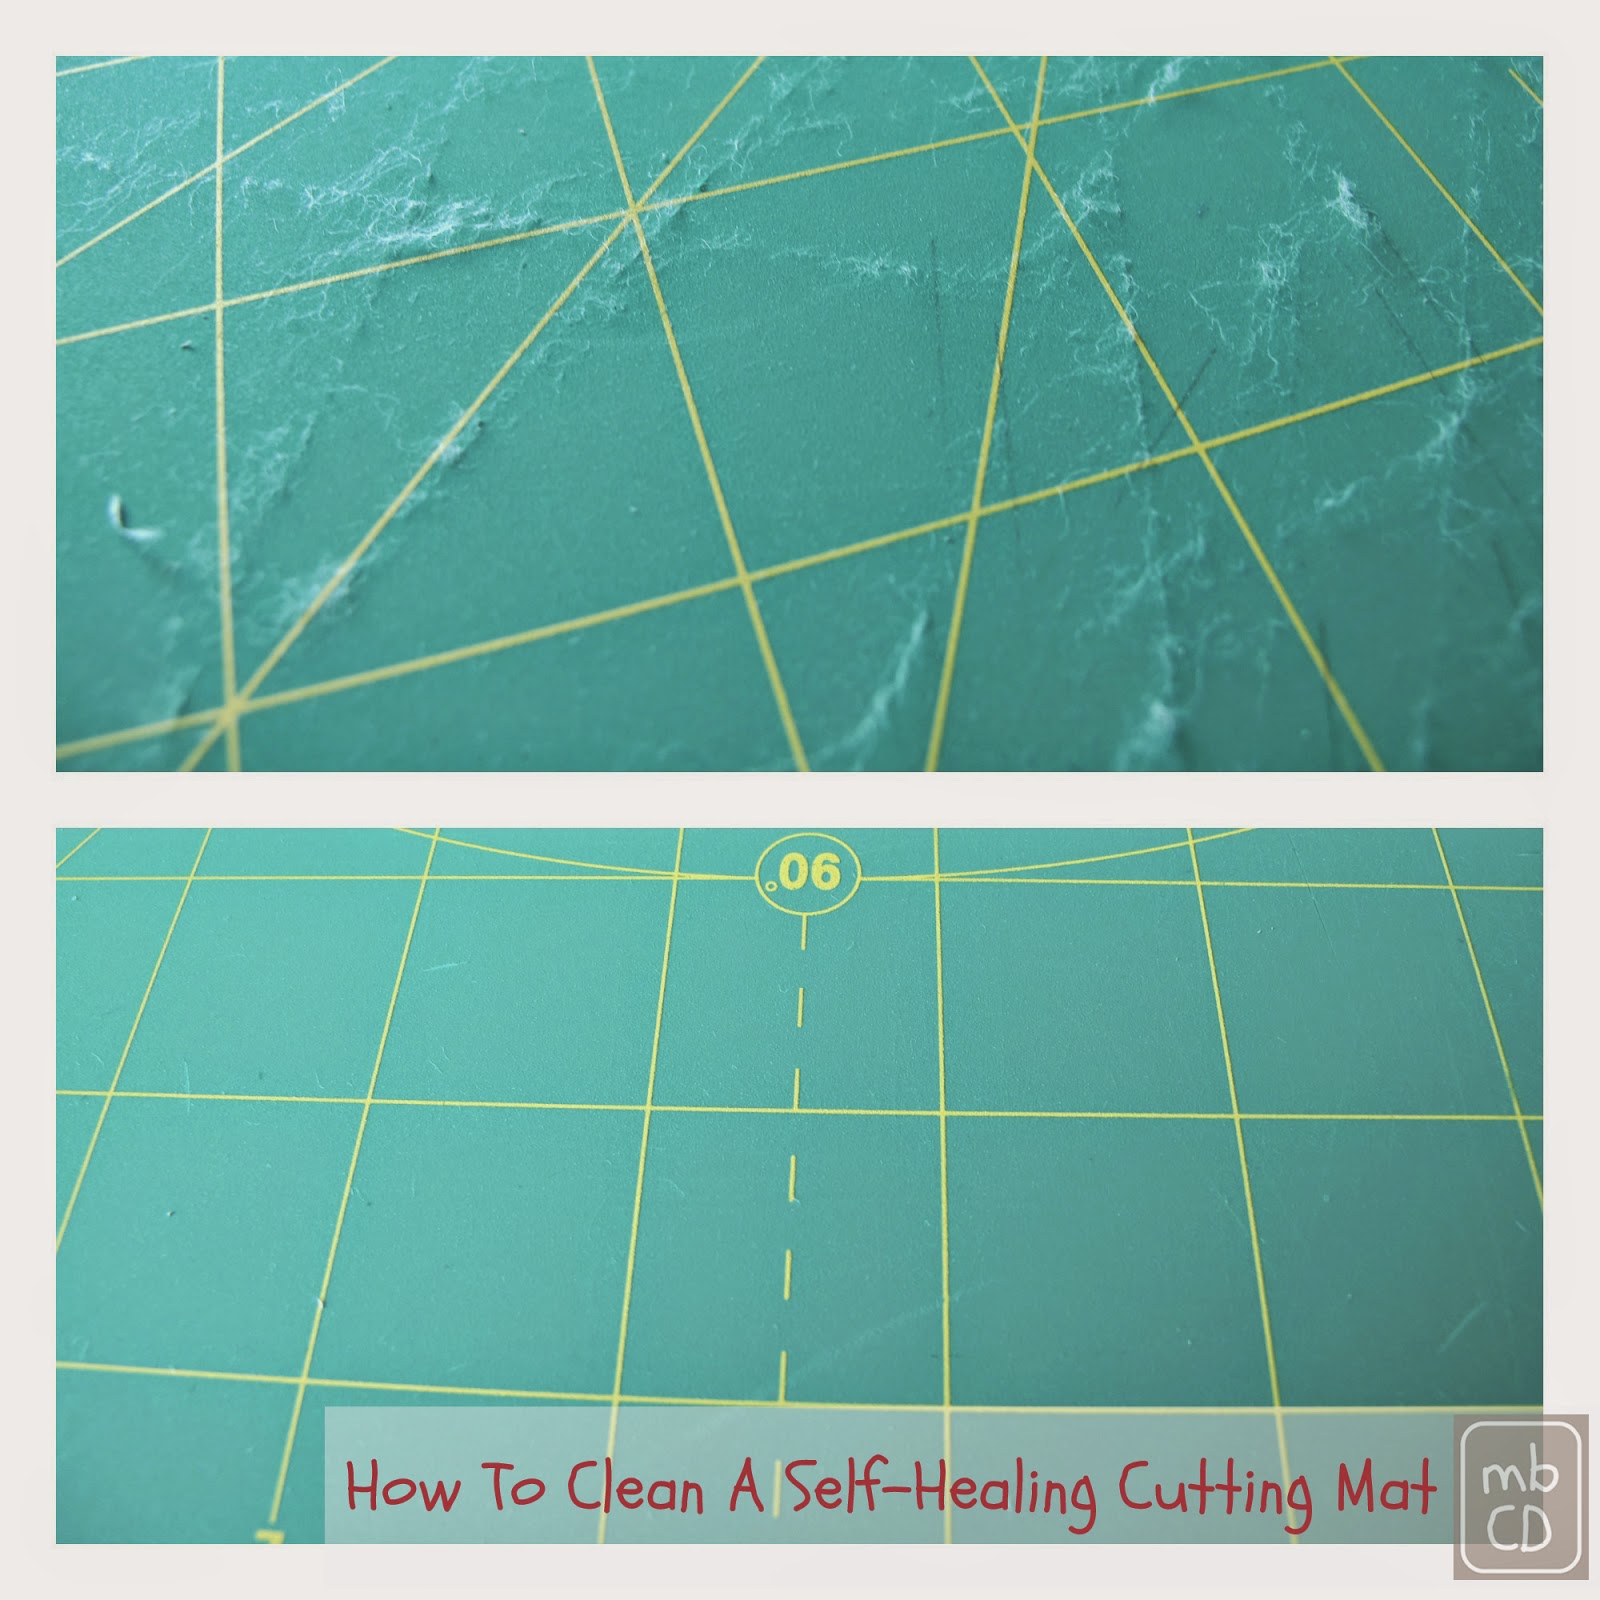
How to Clean a Self Healing Cutting Mat
A self healing cutting mat is a great tool for any crafter, quilter, seamstress or other fabricator. It provides a smooth and clean surface on which to work with blades and tools, while also protecting your work area from damage. But over time, the mat will get dirty and grimy, and it is important to clean it regularly to keep it in good condition. Here are some tips on how to clean a self healing cutting mat.
Step 1: Gather Your Supplies
Before you start cleaning your self healing cutting mat, it is important to gather the supplies you will need. You will need a soft cloth, a mild detergent or soap, and a spray bottle filled with warm water. It is also helpful to have a brush or scrubber, as well as a vacuum cleaner to help pick up any small particles.
Step 2: Prepare the Mat for Cleaning
Once you have gathered your supplies, it is time to prepare the mat for cleaning. Start by wiping down the surface of the mat with a soft cloth, removing any dirt or debris. Next, use a mild detergent or soap and a brush or scrubber to gently scrub the mat. If there are any stubborn stains, you can use a damp cloth to try to remove them.
Step 3: Rinse and Dry the Mat
Once you have finished scrubbing the mat, it is time to rinse it off. Use a spray bottle filled with warm water to rinse off the detergent or soap. Be sure to rinse off any excess soap and dirt, and then dry the mat with a soft cloth.
Step 4: Vacuum the Mat
Once the mat is dry, you can use a vacuum cleaner to pick up any small particles or dirt that may still be on the mat. Vacuum the entire surface of the mat to ensure that it is completely clean.
Step 5: Treat the Mat with a Protectant
Once the mat is completely clean, you can treat it with a protectant. This will help to protect the mat from dirt and moisture, and will also help to extend the life of the mat. You can use a commercial protectant, or you can make your own using a mixture of equal parts water and vinegar.
Step 6: Store the Mat Properly
When you are finished cleaning the mat, it is important to store it properly. Make sure that the mat is dry before storing it away, and store it in an area that is free from dirt and dust.
Step 7: Clean the Mat Regularly
It is important to clean the mat regularly, to keep it in good condition. Clean it every few months, or as needed depending on how often you use it.
Step 8: Use a Rotating Mat
If you use the mat frequently, it is a good idea to use a rotating mat. A rotating mat will help to keep the wear and tear on the mat to a minimum, and will also help to extend the life of the mat.
Step 9: Replace the Mat When Needed
If the mat becomes too worn or damaged, it is important to replace it. A worn or damaged mat can lead to uneven cuts or other craftsmanship errors, so it is best to replace it when needed.
Step 10: Keep Your Mat Clean and Protected
By following these steps, you can keep your self healing cutting mat clean and in good condition. Regular cleaning and maintenance will help to keep your mat in good shape and will help to extend its life.
Related Faq
Q1: What is a self-healing cutting mat?
A self-healing cutting mat is a thick, flexible cutting surface designed to protect the surface of your work table or countertop. It is usually made of a vinyl material that is highly durable and resistant to cuts and scrapes. The “self-healing” nature of the mat comes from the fact that the mat is designed to close up the cuts and scrapes that it sustains, thus preventing the mat from becoming worn down over time.
Self-healing cutting mats are often used by crafters, quilters, and other artists who need a reliable surface for cutting fabrics and other materials.
Q2: What supplies do I need to clean a self-healing cutting mat?
To clean a self-healing cutting mat, you will need a mild soap (such as dish soap), warm water, a soft cloth, and a rubber eraser. You will also need a lint-free cloth to dry the mat after it has been cleaned.
It is important to use a mild soap when cleaning the mat, as harsh soaps or cleaners can cause the mat to become discolored or to develop a sticky residue. Additionally, it is important to use a rubber eraser to remove any stubborn dirt or grime that has accumulated on the mat. This will help to keep the mat looking its best.
Q3: How do I clean a self-healing cutting mat?
To clean a self-healing cutting mat, begin by dampening the mat with warm water and a soft cloth. Next, apply a small amount of mild soap to the mat and gently scrub it in a circular motion. Once the mat is clean, rinse off the soap with warm water and a soft cloth.
Once the mat has been rinsed off, use a rubber eraser to remove any stubborn dirt or grime that has accumulated on the mat. Finally, use a lint-free cloth to dry the mat completely before storing it away.
Q4: How often should I clean my self-healing cutting mat?
It is recommended that you clean your self-healing cutting mat at least once a month. This will help to keep the mat looking its best and will help to prevent any dirt or grime from building up on the mat. Additionally, it is important to periodically check the mat for any signs of wear and tear, such as cuts or scrapes, and to replace the mat when necessary.
Q5: Are there any special care instructions I should follow when handling a self-healing cutting mat?
When handling a self-healing cutting mat, it is important to always use a sharp cutting tool, such as a rotary cutter or scissors. Additionally, it is important to avoid using any abrasive materials or cleaners on the mat, as this could cause the mat to become discolored or to develop a sticky residue. Finally, it is important to store the mat in a dry, cool place when not in use.
How to Clean Your Cutting Mat – Maintenance
Having a clean self-healing cutting mat is essential for optimal performance and a long life. Now that you know the steps to properly maintain your cutting mat, you’ll be able to take advantage of its many features. Make sure you are gentle and use the right cleaning products so that you don’t damage the mat’s surface. With a bit of time and the right cleaning materials, you can have your cutting mat looking like new in no time.
