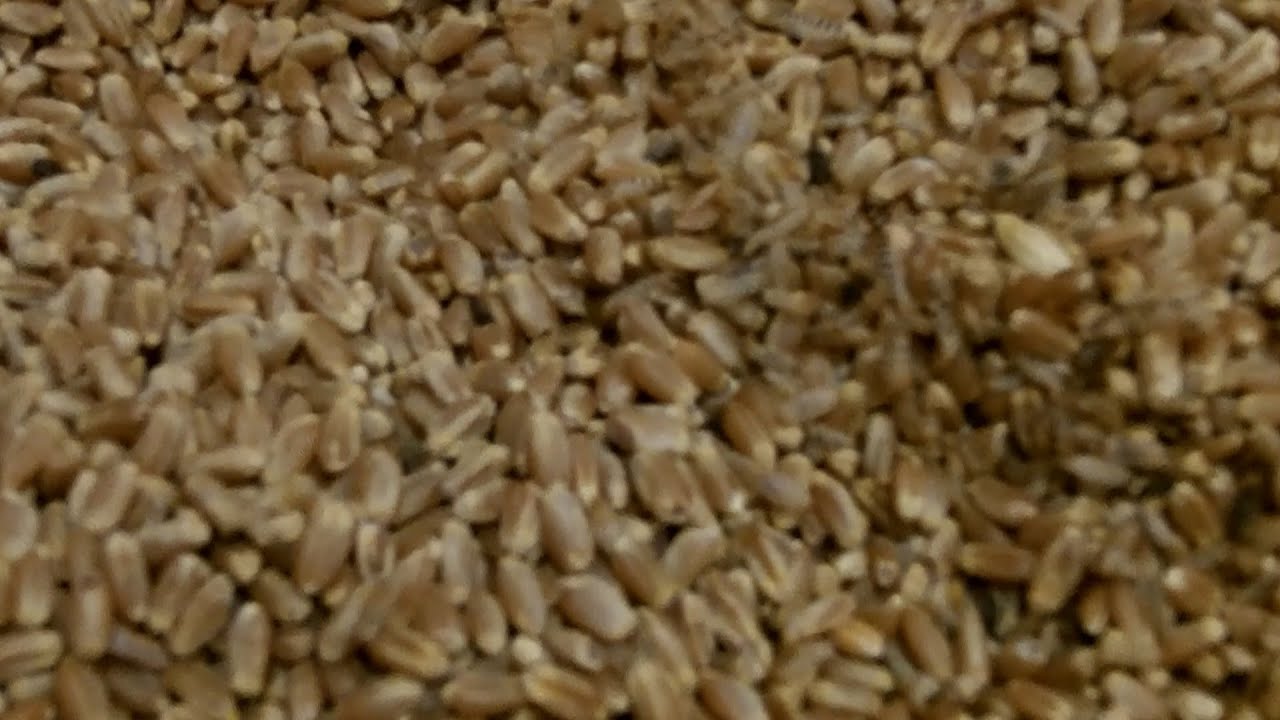
Are you tired of consuming wheat that’s full of dirt and impurities? Well, don’t worry! In this article, we’ll show you how to clean wheat effectively to ensure that you’re consuming pure, healthy grains.
Cleaning wheat is an essential step to remove any husks, debris, or stones that may contaminate your grains. With our simple and easy-to-follow steps, you can clean wheat quickly and efficiently, resulting in high-quality grains that are perfect for cooking or baking. So, let’s get started and learn how to clean wheat like a pro!
Cleaning wheat is an important step in preparing it for consumption. Here are the steps to clean wheat:
- Remove any debris or foreign objects from the wheat.
- Rinse the wheat in cold water to get rid of any dirt or dust.
- Soak the wheat in water for a few hours to loosen any remaining dirt or impurities.
- Drain the water and rinse the wheat again.
- Spread the wheat out on a clean towel to dry.
How to Clean Wheat?
Wheat is one of the most important cereal crops around the world. It is used in various forms such as flour, semolina, and bulgur. However, before using wheat, it needs to be cleaned properly. Cleaning wheat is an important step to remove any impurities, dirt, and debris. In this article, we will discuss how to clean wheat in 10 easy steps.
Step 1: Sorting the Wheat
Sorting the wheat is the first step in cleaning the wheat. This process involves separating the wheat from any other grains or debris. You can use a sieve or a screen to sort the wheat. Place a small amount of wheat on the sieve or screen and shake it gently. This will separate the wheat from any other impurities.
Once you have sorted the wheat, you can discard any debris or other grains.
Step 2: Removing the Chaff
The next step is to remove the chaff from the wheat. Chaff is the outer layer of the wheat that is not edible. You can remove the chaff by using a fan or a blower. Place the wheat in a container and use the fan or blower to blow air over the wheat. The chaff will be blown away, and the wheat will remain.
Step 3: Soaking the Wheat
Soaking the wheat is an important step in cleaning the wheat. Soaking the wheat helps to remove any dirt or debris that may be stuck to the wheat. Soak the wheat in water for about 30 minutes to 1 hour.
After soaking, drain the water and rinse the wheat with fresh water.
Step 4: Scrubbing the Wheat
Scrubbing the wheat is another step in cleaning the wheat. Scrubbing helps to remove any dirt or debris that may still be stuck to the wheat. Use a scrub brush or a soft cloth to scrub the wheat gently.
After scrubbing, rinse the wheat with fresh water.
Step 5: Drying the Wheat
Drying the wheat is an important step in cleaning the wheat. Drying the wheat helps to remove any moisture that may be present. Place the wheat on a clean cloth or paper towel and let it dry completely.
Step 6: Grinding the Wheat
Grinding the wheat is the next step in preparing the wheat for use. You can use a grain mill or a food processor to grind the wheat. Grinding the wheat helps to break it down into smaller pieces.
After grinding, sift the wheat to remove any larger pieces.
Step 7: Storing the Wheat
Storing the wheat is an important step to keep it fresh. Store the wheat in an airtight container in a cool, dry place. This will help to prevent any moisture or insects from getting into the wheat.
Step 8: Benefits of Cleaning Wheat
Cleaning wheat has many benefits. It helps to remove any impurities, dirt, and debris from the wheat. This makes the wheat safer to eat and helps to preserve its nutritional value.
Step 9: Wheat vs Other Grains
Wheat is a healthier option compared to other grains. It is rich in fiber, protein, and essential nutrients. It is also low in fat and calories.
Step 10: Conclusion
Cleaning wheat is an important step in preparing it for use. Follow these 10 easy steps to clean your wheat properly. This will ensure that your wheat is safe to eat and retains its nutritional value.
Freequently Asked Questions
What is Wheat Cleaning and Why is it Necessary?
Wheat cleaning is a process that involves removing impurities, such as dirt, stones, and other foreign objects from wheat grains. It is necessary to clean wheat to ensure that only the best quality grains are used for consumption. If wheat is not properly cleaned, it can contain harmful substances, spoil the taste of the final product, and even cause health problems.
Cleaning wheat involves several steps, including sieving, winnowing, and sorting. Sieving is the process of separating the larger impurities, such as stones and dirt, from the grains. Winnowing involves blowing air over the grains to remove lighter impurities, such as chaff and dust. Sorting is the final step, where the grains are visually inspected, and any remaining impurities are removed by hand.
What Are the Different Methods of Cleaning Wheat?
There are several methods of cleaning wheat, including manual, mechanical, and chemical methods. Manual cleaning involves using sieves and fans to separate impurities from the grains. Mechanical cleaning involves using machines, such as air classifiers and magnetic separators, to clean the wheat. Chemical cleaning involves using chemicals, such as chlorine dioxide and hydrogen peroxide, to remove impurities.
Mechanical cleaning is the most common method used by commercial wheat processing plants, as it is more efficient and cost-effective than manual cleaning. However, manual cleaning is still used in some rural areas, where access to machinery is limited.
What Are the Benefits of Using Clean Wheat?
Using clean wheat has several benefits, including improved taste, increased nutritional value, and reduced health risks. When wheat is properly cleaned, it is free from impurities, which can spoil the taste of the final product. Clean wheat also retains its nutritional value, as impurities can reduce the amount of vitamins and minerals present in the grains.
In addition, clean wheat reduces the risk of health problems, such as food poisoning, as it is free from harmful substances. Impurities in wheat can also cause allergic reactions in some people, so using clean wheat is important for those with allergies.
How Can I Tell if Wheat is Clean?
You can tell if wheat is clean by visually inspecting it for impurities, such as dirt, stones, and other foreign objects. Clean wheat should be free from any visible impurities and should have a uniform color and texture. You can also test the cleanliness of wheat by soaking it in water for a few minutes. If the water turns cloudy or there are visible impurities, the wheat is not clean.
Another way to tell if wheat is clean is to check the packaging. Good quality wheat should be properly packaged and labeled with information about the cleaning process used.
Can I Clean Wheat at Home?
Yes, you can clean wheat at home using manual methods, such as sieving and winnowing. To clean wheat, you will need a sieve, a fan, and a clean workspace. Start by sieving the wheat to remove larger impurities, such as stones and dirt. Then, use a fan to blow air over the grains to remove lighter impurities, such as chaff and dust.
Once you have removed all visible impurities, you can sort the grains by hand to remove any remaining impurities. It is important to wash your hands thoroughly before handling the wheat to avoid contaminating it with bacteria or other harmful substances.
How to clean wheat at home
In conclusion, cleaning wheat is an important step in the process of turning it into usable flour for cooking and baking. By removing debris, dirt, and other impurities, you can ensure that your wheat flour is of the highest quality and free from any unwanted contaminants.
To clean wheat effectively, it is important to follow a few simple steps. First, sort through the wheat to remove any large pieces of debris or foreign objects. Then, wash the wheat thoroughly in cold water to remove any remaining dirt and dust. Finally, dry the wheat completely before grinding it into flour.
By taking the time to properly clean your wheat, you can produce flour that is not only healthier and more nutritious, but also more flavorful and delicious. Whether you’re an experienced baker or just starting out, this simple process is an essential step towards creating the perfect baked goods every time.