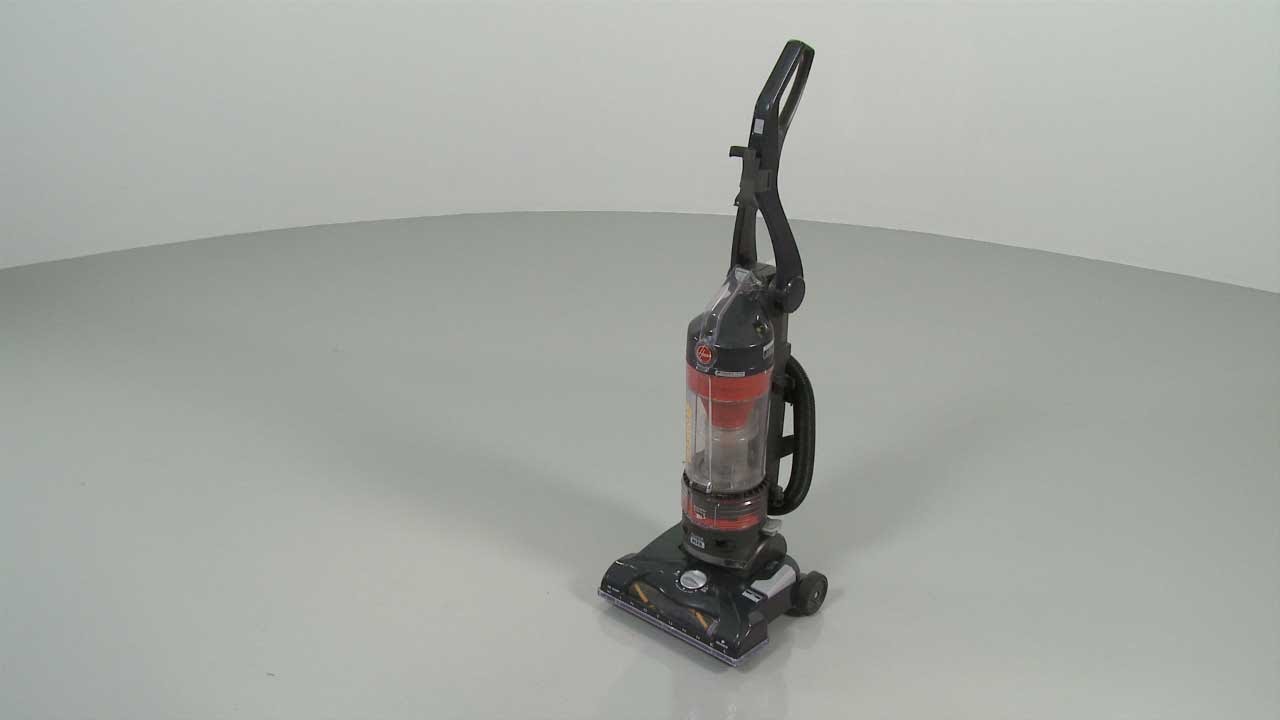
Have you ever found yourself struggling to clean your Hoover vacuum cleaner? Not to worry, dismantling your Hoover is easier than you might think! In this article, we will guide you through the steps to dismantle your Hoover vacuum cleaner, giving you the chance to ensure all parts are clean and working correctly.
By following our simple step-by-step guide, you can easily take apart your Hoover vacuum cleaner without damaging any parts. Whether you’re experiencing a blockage or simply want to give your Hoover a thorough clean, dismantling your vacuum cleaner is a quick and easy process. So, let’s get started and learn how to dismantle your Hoover vacuum cleaner like a pro!
- Unplug the vacuum cleaner from the power source.
- Press the release button or lever to detach the dustbin or bag from the vacuum.
- Remove the filter from the vacuum and clean it if necessary.
- Use a screwdriver to remove the screws that hold the brush roll cover in place.
- Remove the brush roll and clean it if necessary.
- Use a screwdriver to remove the screws that hold the vacuum’s motor housing in place.
- Remove the motor housing and clean the motor if necessary.
How to Dismantle a Hoover Vacuum Cleaner?
If you own a Hoover vacuum cleaner, you already know that it’s an essential tool to keep your floors and carpets clean. However, there comes a time when you need to dismantle it to clean or replace some parts. Dismantling a Hoover vacuum cleaner may seem daunting, but it’s not that complicated if you follow the right steps. In this article, we will guide you on how to dismantle a Hoover vacuum cleaner step-by-step.
Step 1: Unplug the Hoover Vacuum Cleaner
The first and most important step when dismantling a Hoover vacuum cleaner is to unplug it from the power source. This ensures your safety and avoids any electrical accidents that may occur during the process. After unplugging the vacuum cleaner, allow it to cool down if it has been in use.
Once the vacuum cleaner is cool, remove the hose from the back of the cleaner. You can do this by twisting the hose counterclockwise and pulling it out. If your Hoover vacuum cleaner has an extension wand, remove it by pressing the release button and pulling it out.
Step 2: Remove the Filter
The filter is an essential component of a vacuum cleaner as it traps dirt and dust particles. To remove the filter, open the dustbin or bag compartment and locate the filter. If your Hoover vacuum cleaner has a washable filter, remove it and clean it thoroughly. If the filter is not washable, replace it with a new one.
Step 3: Detach the Brush Roll
The brush roll is responsible for agitating the carpet fibers, making it easier to pick up dirt and debris. To detach the brush roll, flip the vacuum cleaner over and locate the brush roll cover. Remove the cover by using a screwdriver to unscrew the screws holding it in place.
Once the cover is removed, pull out the brush roll and clean it thoroughly. You can use a pair of scissors to cut off any tangled hair or fibers wrapped around the brush roll.
Step 4: Remove the Belt
The belt is responsible for rotating the brush roll. To remove the belt, locate the motor shaft and the brush roll end. Then, remove the old belt by sliding it off the motor shaft and brush roll end. If the belt is worn out, replace it with a new one.
Step 5: Clean the Vacuum Cleaner Head
The vacuum cleaner head is the part that comes into contact with the floor or carpet. To clean the vacuum cleaner head, use a cloth or brush to remove any dirt or debris stuck on it. You can also use a damp cloth to wipe it clean.
Step 6: Clean the Dustbin or Bag Compartment
The dustbin or bag compartment is where all the dirt and debris are collected. To clean it, open the compartment and remove the bag or bin. If the dustbin is washable, wash it thoroughly and allow it to dry before reattaching it. If your Hoover vacuum cleaner uses a bag, replace it with a new one.
Step 7: Clean the Hose
The hose is responsible for sucking up dirt and debris. To clean the hose, detach it from the vacuum cleaner and run water through it. You can also use a long brush to remove any dirt or debris stuck inside the hose.
Step 8: Reassemble the Vacuum Cleaner
After cleaning all the parts, it’s time to reassemble the Hoover vacuum cleaner. Start by reattaching the hose, extension wand, and brush roll. Then, slide the new belt onto the motor shaft and brush roll end. Finally, replace the filter and dustbin or bag compartment.
Step 9: Test the Hoover Vacuum Cleaner
Before using the Hoover vacuum cleaner, test it to ensure that it’s working correctly. Plug it into the power source and turn it on. Check if the brush roll is rotating and if there’s suction.
Step 10: Maintain the Hoover Vacuum Cleaner
Regular maintenance of your Hoover vacuum cleaner is essential to keep it working correctly. Clean the filter, brush roll, and dustbin or bag compartment regularly. Replace worn-out parts such as the belt and filters to ensure optimal performance.
In conclusion, dismantling a Hoover vacuum cleaner is not as complicated as it may seem. By following these ten steps, you can clean and replace the necessary parts of your vacuum cleaner to keep it working correctly. Remember to maintain your Hoover vacuum cleaner regularly to ensure optimal performance and longevity.
Frequently Asked Questions
Here are some commonly asked questions about how to dismantle a Hoover vacuum cleaner.
1. How do I safely take apart my Hoover vacuum cleaner?
To safely dismantle a Hoover vacuum cleaner, start by unplugging the device and removing any attachments or accessories. Next, locate the screws or clips that hold the vacuum together and carefully remove them. Be sure to keep track of all the pieces you remove and take note of their position as you disassemble the vacuum. It may also be helpful to take pictures or video of the process to reference when reassembling the device.
When taking apart any electrical device, it is important to use caution and follow manufacturer instructions to avoid injury or damage to the device.
2. Can I clean the filters on my Hoover vacuum when I dismantle it?
Yes, you can clean the filters on your Hoover vacuum cleaner when you dismantle it. Once you have taken apart the vacuum, locate the filters and remove them. Depending on the model, your Hoover vacuum may have multiple filters, including a pre-filter, a HEPA filter, and a post-motor filter. Check the manufacturer’s instructions for details on how to clean each filter.
To clean the filters, gently remove any debris or dust and rinse with water. Allow the filters to air dry completely before reassembling the vacuum. Be sure to replace any damaged or worn filters with new ones to ensure the vacuum functions properly.
3. What tools do I need to dismantle a Hoover vacuum cleaner?
The tools you need to dismantle a Hoover vacuum cleaner may vary depending on the model. Generally, you will need a set of screwdrivers, pliers, and possibly a hex key or other specialized tool. Check the manufacturer’s instructions for details on which tools are required for your specific model.
Before beginning any repairs or disassembly, it is important to make sure you have the correct tools and that you are comfortable using them. If you are unsure about how to use a specific tool, consult the manufacturer’s instructions or seek the help of a professional.
4. Can I replace parts on my Hoover vacuum when I dismantle it?
Yes, you can replace parts on your Hoover vacuum when you dismantle it. Common parts that may need replacing include the belt, brush roll, and motor. Check the manufacturer’s instructions or consult a repair manual for details on how to replace these parts.
When replacing parts, it is important to use genuine Hoover replacement parts to ensure proper fit and function. Using non-genuine or incompatible parts can cause damage to the vacuum and may void the warranty.
5. How do I reassemble my Hoover vacuum cleaner after dismantling it?
To reassemble your Hoover vacuum cleaner, refer to the pictures or videos you took while disassembling the device. If you did not take pictures or videos, consult the manufacturer’s instructions or a repair manual for detailed assembly instructions.
Start by replacing any damaged or worn parts, such as the belt or brush roll. Then, carefully reattach any clips or screws that hold the vacuum together. Once the vacuum is fully assembled, test it to ensure it is functioning properly before using it to clean your home or office.
Hoover Vacuum Cleaner Disassembly – Vacuum Cleaner Repair Help
In conclusion, dismantling a Hoover vacuum cleaner may seem like a daunting task, but with the right tools and a little bit of patience, it can be done easily. Remember to unplug the vacuum before starting and take note of the order in which you remove the parts to make reassembly easier.
By following the steps outlined in this guide, you can disassemble your Hoover vacuum cleaner and clean the individual parts to ensure optimal performance. And if you encounter any difficulties, don’t hesitate to seek help from a professional.
In the end, taking apart your Hoover vacuum cleaner can be a fun and rewarding experience, allowing you to gain a better understanding of how it works and how to maintain it properly. So go ahead and give it a try, and enjoy the satisfaction of a job well done.
